Friday, October 21, 2011

Day of the Dead Make-up

The inspiring work of  Sylvia Ji


Hello!  I wanted to do a Halloween make-up tutorial because painting your face can be a simple way to dress up. It can also be very dramatic on a shoestring budget!


Pull your hair out of the way , wash and moisturize you face prior to putting on your make-up. This step helps make-up go on better and stay nice looking for more hours! Pale your face with a clown white or even a lighter foundation. If you don't have clown white or foundation this step can be skipped altogether.


Bring some of the white down your neck and your chest. I just put a little white highlight to emphasize my collar bones and a couple ribs.


Next brush or pencil in your eye sockets. I went over the top of my brows the followed the natural shape of my socket.


I shadowed the inner socket area with black first to deepen that part of the eye.


Next I am using a drugstore shadow to fill the rest of the socket area in.


Fill in sockets


Next I am putting in some stylized cheek bones. There are many ways and styles to Day of the Dead Make-ups. This is just what I am doing. Make it your own!


I am smudging the underside of the line to create depth.


Just adding in some faint lines underneath for an extra embellishment.


With a liquid eyeliner I add petal shapes around the sockets.


Petals done.


Adding some blush on the apples of my cheeks


With liquid liner define the cheekbone line.


I am doing a stylized lip. It is inside the natural lip line like the 1920s style cupids bow.


Then with liquid liner draw lines from each corner of the mouth and add "teeth" lines


With liner I am drawing a flower on my chin. Again, you can do whatever you want, dots, hearts. There are many ways to add to this look!


I am coloring in my petals. Not being particularly neat. I like a bit of imperfection on this part.


To my neck and chest I add with liner more lines and dots to bring the look together.


Painting in the nose.


                                    A traditional heart and web design for forehead


I found these for a couple bucks a piece at the drugstore. They work great!


I am using them to add some sparkle. You can also use face or nail jewels and lash glue :)


The face is done!


Below I added some drama with a wig, some plastic spiders and dollar store headbands!


Hope you enjoyed this tutorial. Thanks for reading!

Wednesday, October 19, 2011

Halloween Candle Certerpiece

Hello! So, this project was about a step away from a Craft Fail! A blog everyone who crafts should see. Well everyone should check it out whether you are crafty or not :) Here is a link!  http://craftfail.com/


Anyway, here is the project. I went to my favorite 99 Cent store to get the supplies store to make this one. 

Here are all the lovely things I found on my trip there!


Here are the things I chose to make my candle center piece. I had paint already but there are places to get cheap paint and brushes often the $ store even has it! You can use many things. I know all stores have different items!


First I want to paint the witches boot. I thought it would look neat if it had a candy corn colored sock!
the first color does not need to be particularly neat. In fact you will notice I am not neat at all on this :) And I use my skirt to blot my brush after I rinse it...Uhg! I need to remember a towel! I have used the old blot your brush on your clothes trick for many years when I for get the blot towel...Not saying you ought to pick up this habit!


Next I add earrings for a cute jewel embellishment. You can use any kind of glue. I like hot glue because it is instant! Other types you will need ample dry time in between.


 Cut some pieces of the wire to make silver vines that match the jewel and blue them to the silk flowers or leaves you have chosen.


Add little skull to flower and vine arrangement with glue


Wire flowers together with boot or other vessel for a cute little Halloween candle centerpiece and you are done!


Hope you have a good time making something unique this Halloween! Please feel free to share anything you have made! I'd love to see it!

Sunday, October 16, 2011

Day of the Dead Miniatures!

Hello! I wanted to share another set of miniatures just finished for Halloween! Also stick around for a new DIY tutorial with dollar store items! I will be taking a trip to my favorite 99 cent store in Silverlake to create something fabulous!

I am so in love with Day of the Dead. I let it inspire me to create the latest set of miniatures for my etsy store! I will add a direct link for each item :)


Hope you enjoy these! I really loved creating them. XO and thanks for reading!

Wednesday, October 12, 2011

New Miniatures!

Hello! Just finished a set of miniature and wanted to share! 

This one is a sweet Sleepy Little Bunny who is so tired she can even sleep standing!


This is a very small but very Wise Little Owl who would love to give advice but politely waits until asked...


This Quiet Little Mouse would love to go home with you and watch over things in silence :)


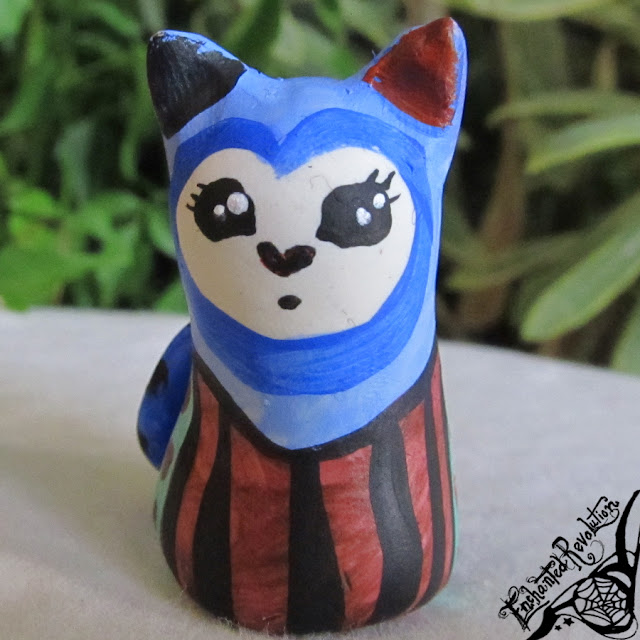
The most Curious Kitty I know is right here wondering and pondering if she should create some mischief!


All four of these cuties are available for adoption at:

Thanks for reading!


Tuesday, October 11, 2011

Halloween at Enchanted Revolution!

Hello Everyone! We are nearing Halloween so I wanted to share some of the great gifts and things that you may be interested in this season!

These Day of the Dead style hair clips could be a great addition to a costume or worn as a cute Halloween embellishment for those who are not ready to commit to an entire costume! To go to the online store click this link:                              


 Next we have some lovely one of a kind Gothic Art Dolls looking for a loving home! 

The Plague Doctor II


Anastasia


Ivy

 
Ophelia in Red


Adeline


The Witch


I invite you to come visit my store.http://www.etsy.com/shop/EnchantedRevolution Let me know what you think!

 Thanks for reading!